First you will have to take off the case plugs.
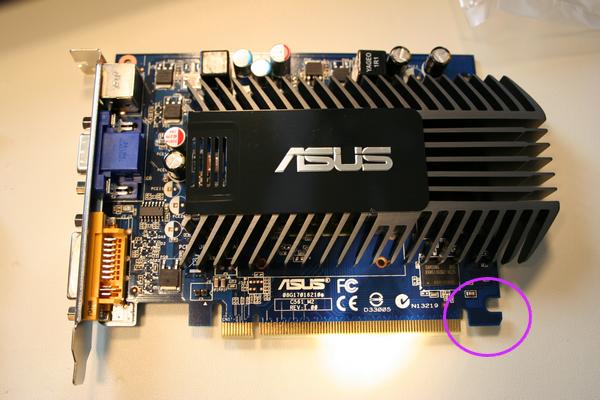
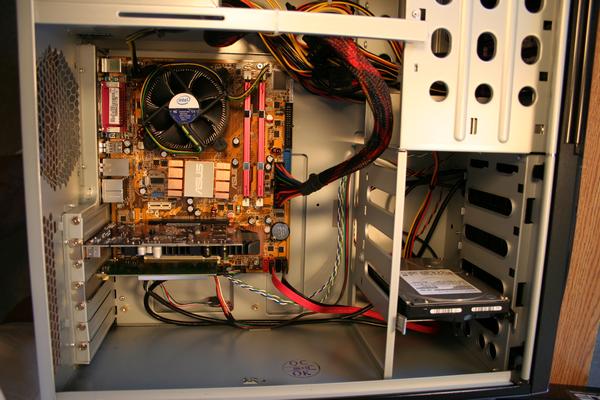
The Video Card is connected to a PCIe slot (PCI Express). I circled the locking notch. The PCIe slot usually has a little handle that must be unblocked for removal of the video card. To install, line the video card up with the PCIe slot, and firmly press down.
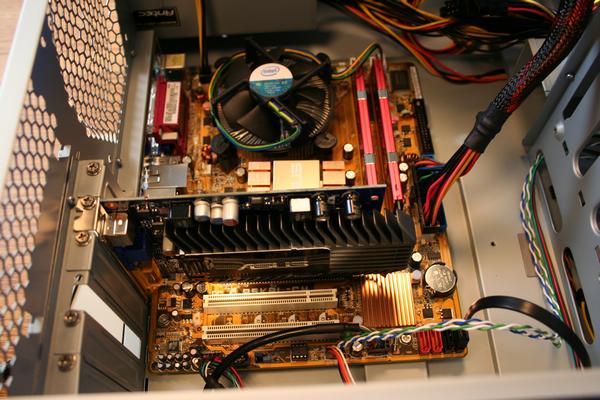
And now a view with the video card installed. Don't forget to secure it with the screw that held the plug in place.
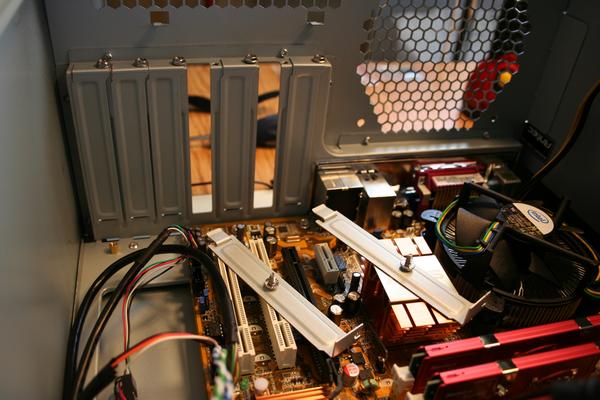
Next the wireless adapter card.
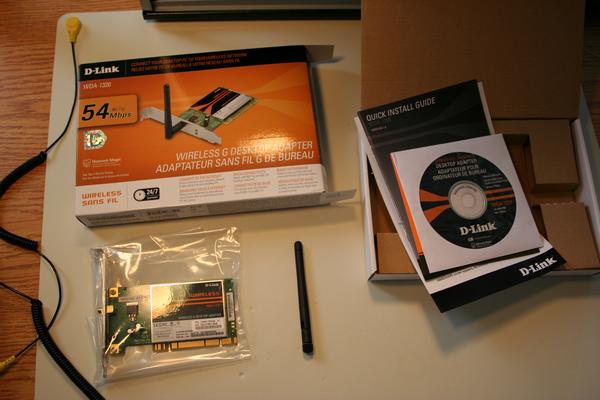
And installed. Most Wireless adapters use a PCI interface, although one can now find some with the PCIe interface. Other methods of connecting the desktop computer wirelessly would be via a USB connection and are external adapters. We placed the wireless card in the bottom PCI slot for better cooling of the video card, since we have no current need for both PCI slots.

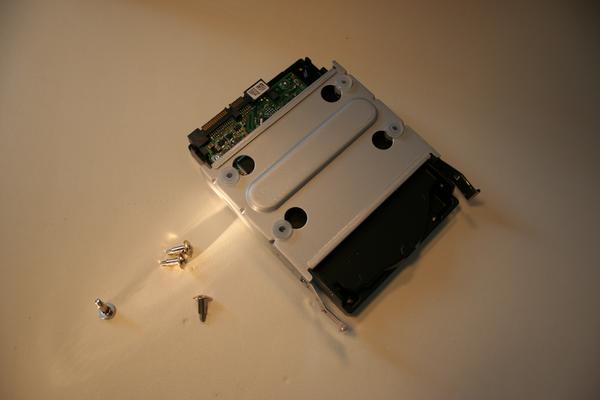
Next comes the Hard Drive. It houses the operating system, and all your data. Here we are attaching it to the mounting plate that came with the case.
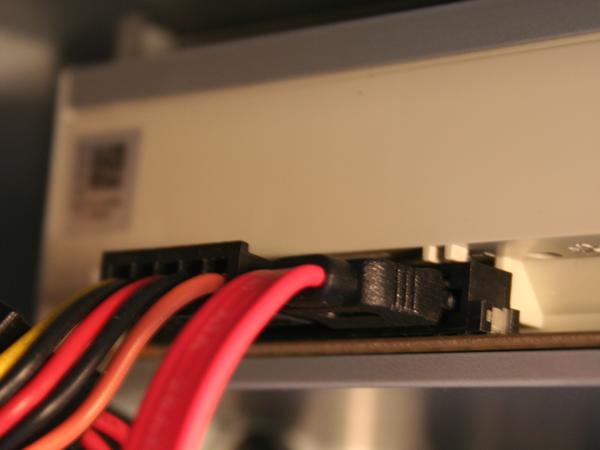
Next we connect the SATA cable, and the power cable.

We installed the mounting plate so that all the connections are in the back, hence this picture just shows the connections. As you will notice in the next picture, we routed the cables from the back. It is possible to attach the mounting plate so that the connections face the open face of the case.
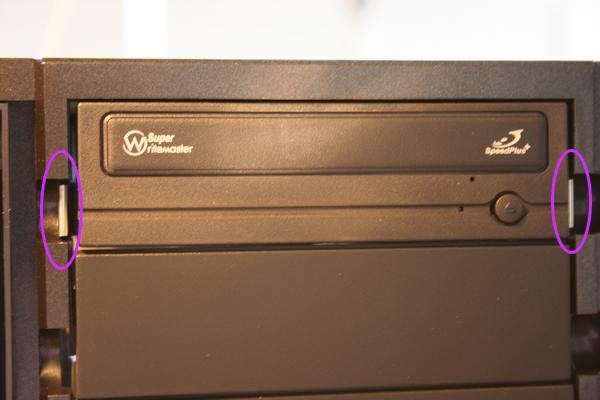
Finally the optical drive, shown here with the mounting brackets. These are screwed on either side of the drive.
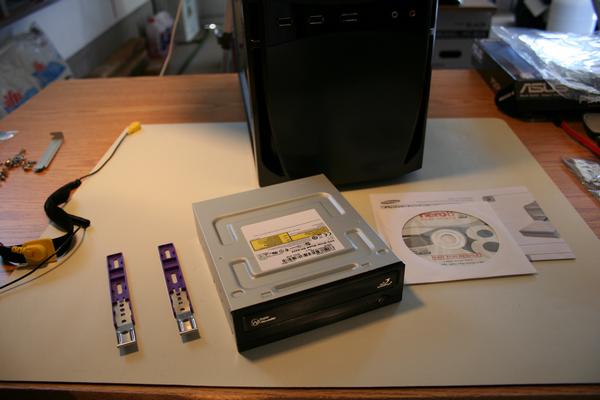
The optical drive gets inserted through the front of the case in our example. Circled are the side mounting brackets. that hold the DVD player in place.
The connections in the back of the player are identical to those of the Hard Drive Disk.