Installing the CPU and FAN
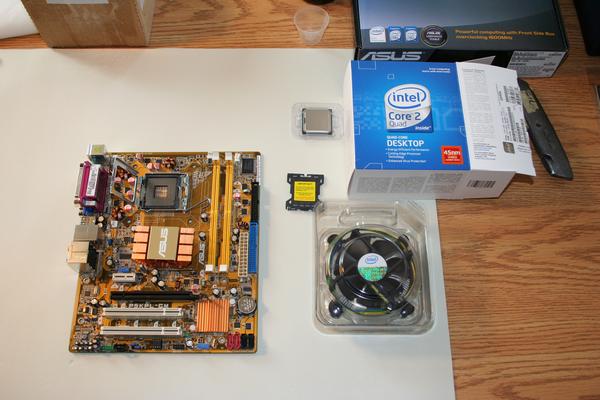
T Below are the Motherboard on the left, the included Fan to the right, the CPU (Processor) which is next to the CPU box, and just below it, a protective cover for the pins, which has to be taken off.
Chapter Navigation:
Note:
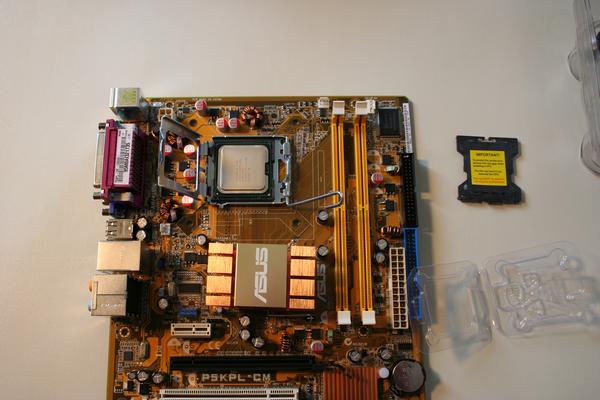
Here is a closer look at the CPU , and the protective cover that was taken off the Motherboard CPU Slot.

Remove the CPU from its plastic enclosure, and place it in the motherboard CPU Slot as shown below. It is important not to force the CPU into the slot.
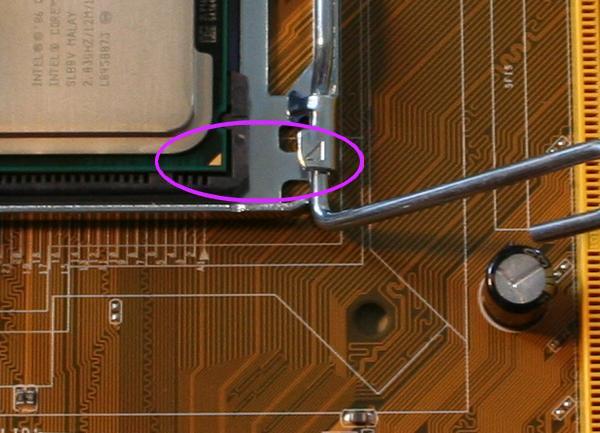
There is only one way that it can fit. There is usually an alignment arrow. Please follow the instructions in the motherboard manual, and see the example for our own project below.
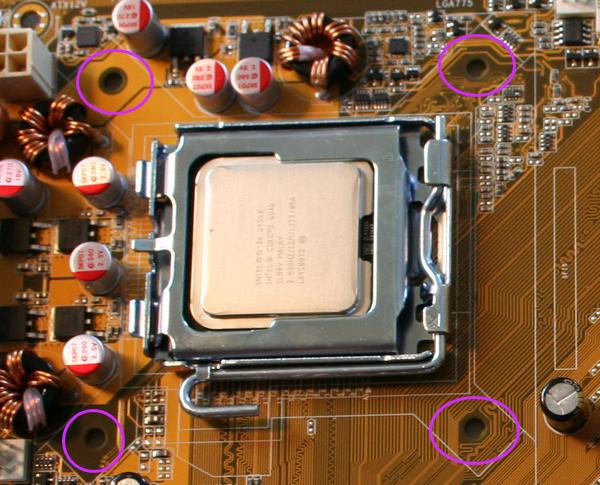
Now close the hinged cover, and lock the handle in place as shown below, please note that I've also circled the four cooling fan anchor points that are at the 4 corners of the CPU.
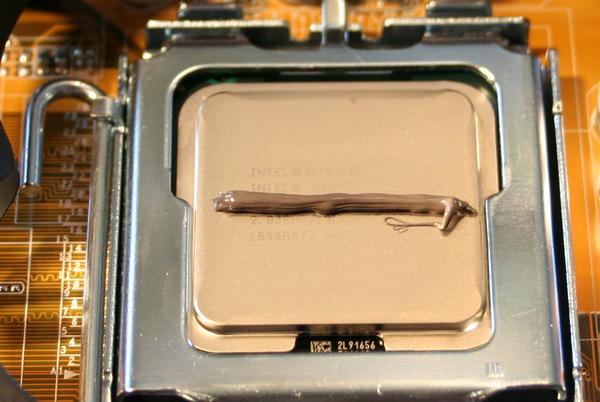
Before installing the fan, remember to apply the cooling grease that comes with the fan, or an after market grease. It helps with the cooling process by insuring a 100% heat transfer contact. I usually take a straight edge like an old credit card to spread a thin layer as evenly as possible over the CPU.
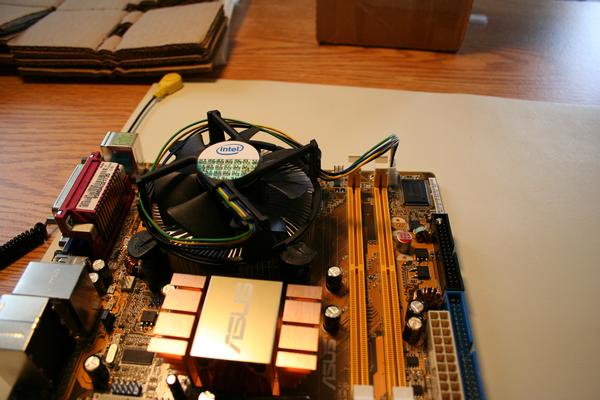
Now comes the fan, first the installed top view:
and also a close up look at an anchor point from the underside of the motherboard.
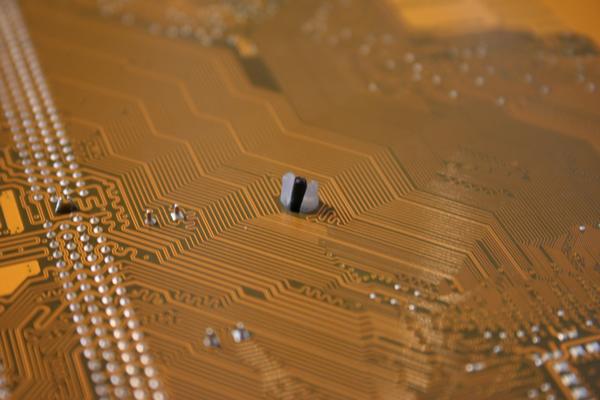
I showed this picture in case you want to take off the stock fan and replace it with an after market model. The black pin gets pulled out from the other side, and the two white hooks can then be squeezed together and pushed back out through the hole.