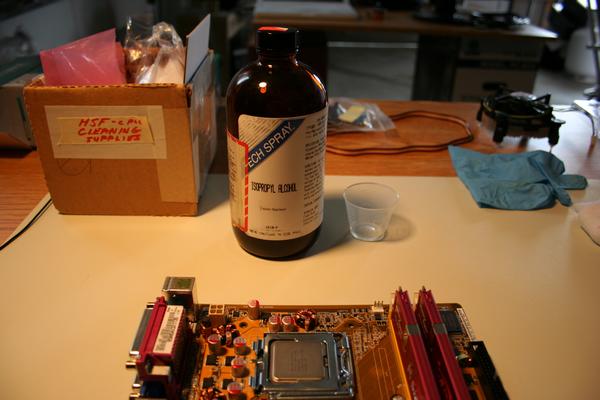
In our example, you will have take out the motherboard, or you can decide to install the new fan before installing the motherboard. If you started with the original fan, you will have to clean off the cooling grease for best results. I used Isopropyl Alcohol.
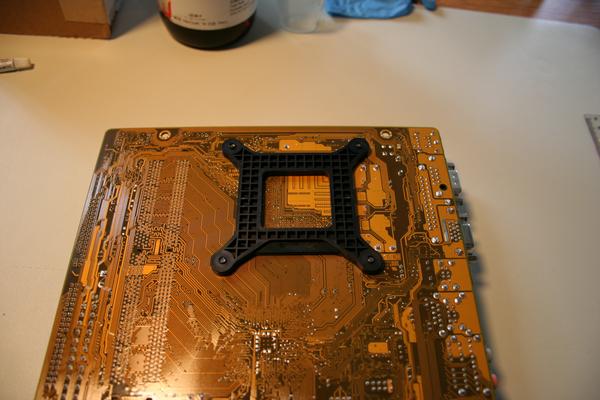
The fan we have chosen is much bigger than the stock fan, and requires a backing plate for extra strength.
Once again, don't forget to apply the cooling grease.
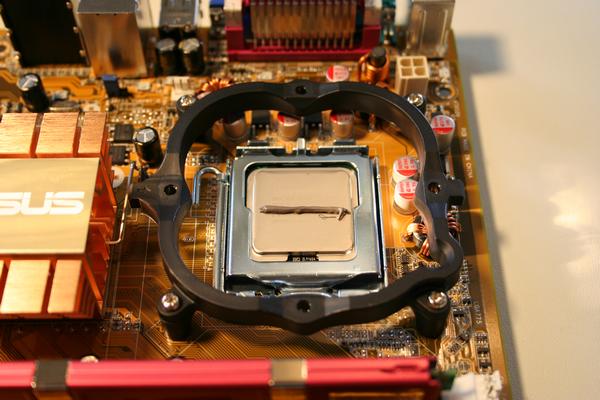
Mount the fan and secure it on the front assembly bracket.

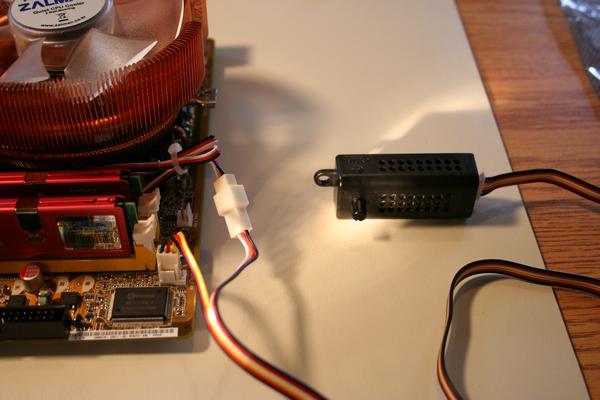
This fan came with a fan speed switch shown here.
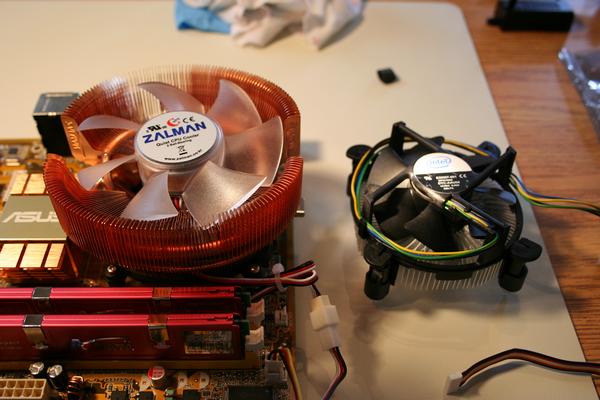
You can clearly see the difference in size of the stock fan, and the after market one. It is the bigger diameter of the fan which allows it to spin at a lower speed which gives us both better cooling and less noise.
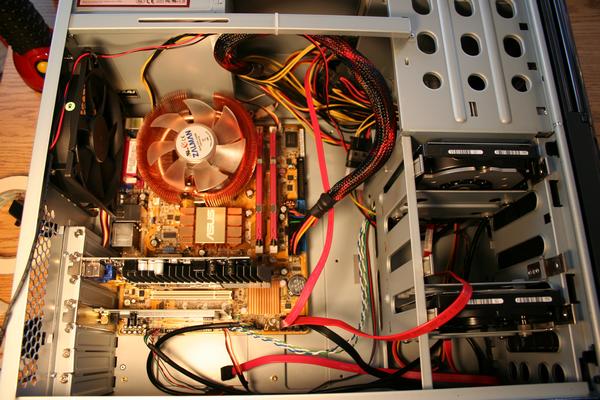
Finally once this is done, insert the motherboard back into the case.
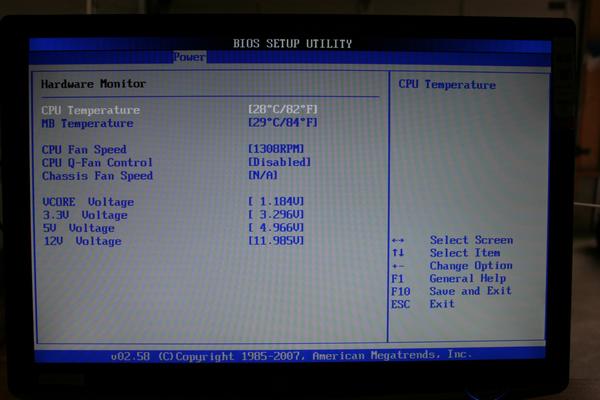
Even though this is just a little beyond the scope of this site, you can go into the BIOS page, and check the temperature of your CPU