CSS EDITOR
Dreamweaver 8 had a built in CSS editor which makes it easy to give a certain form to the page of your project. We will show you every window of the editor to familiarise you with the css.
As you may have noticed in the previous chapter, CSS in general, your page was laid out without any structure. You only put in place blocks (Div) so far. In this chapter, it is those blocks as well as their content that you will change.
Chapter Navigation:
Widget:
Text.........
1. Creating a CSS rule.
Creating a Tag.
In zone 3, the navigation pane, open the CSS tab, and under your project ![]() on the (no styles defined) part that shows up under the "All rules" header, then
on the (no styles defined) part that shows up under the "All rules" header, then ![]() on new...
on new...
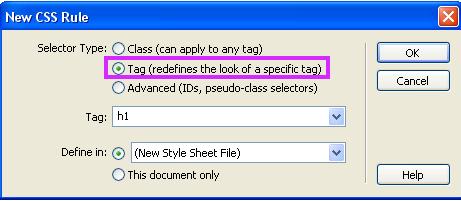
Select Tag, and chose h1 for instance (h1 = header 1). Make sure that the content is in your CSS page, or only the page will be affected.
Then click on OK .
Now you will see the settings editor of the CSS rule, which we will show in the next chapter.
Save US$100 when you upgrade to Production Premium today.
Creating a new class or style
Once again, ![]() on new... Css rule
on new... Css rule
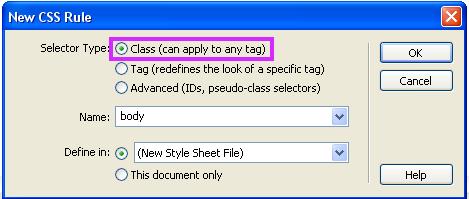
Same as above. Under name we can chose body for instance. Just make sure that if the name is composed of several words, don't leave any spaces between the words.
DIV ID
![]() on New... Css rule
on New... Css rule
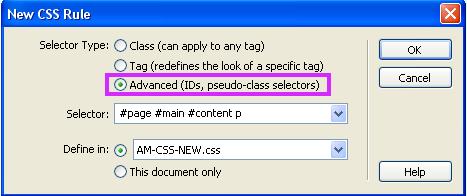
Here it is important that the # under the selector is present for the ID, DIV and Template identifications.
In the example above, #page #main #content p you will notice spaces. Unlike above, in this case, they must be there.
2. Type
This section refers to the font type. This is where you set the size, colour, style (bold or italics,...), the height of the line etc.
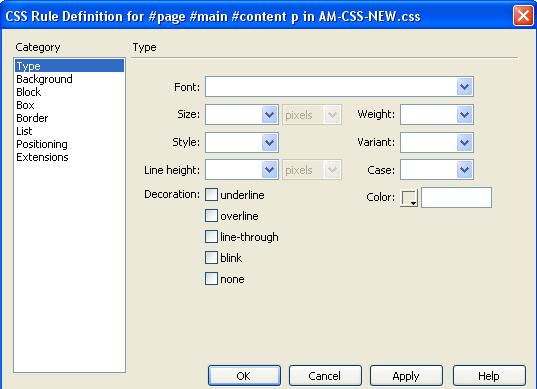
Tip:
A line height of about 25 will give your page a fair amount of spacing, so it will not look too crowded.
3. Background
In this section you will be choosing the look of your site, such as the background decoration or colour, as well as the position of the decor.
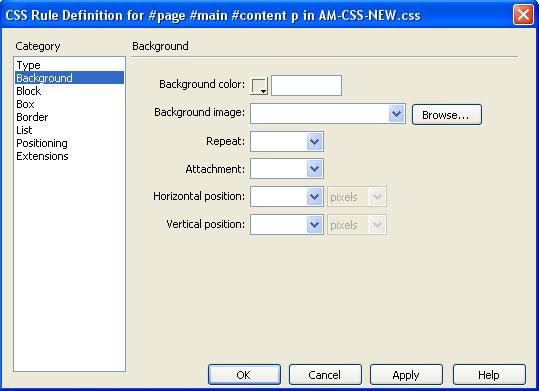
Explanation:
Repeat: X repeats your image along the horizontal axis
Repeat: Y repeats your image along the vertical axis
Attachment: Fixed means that the picture is in a fixed spot
Attachment: Scroll means that no matter where you scroll on your browser, the image will be visible.
4. Block
This section also deals with the text however; this is where you can change its behaviour. This will become important later with respect to positioning.
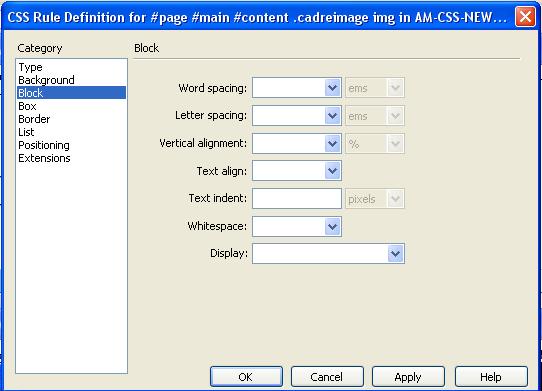
Explanation:
Display: Block makes the content independent from the rest of the page. We now have a block whose dimensions will be defined by its box and its position.
5. Box
Here we are adjusting the outside and inside height and width dimensions, the padding and the margin of the page.
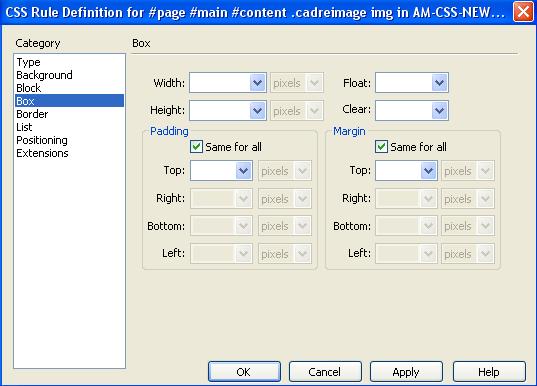
Explanation:
Float: Left, your element is to the left
Float: Right, your element is to the right
Float: None, your element will be in its original spot. I prefer to leave it blank in this case.
6. Border
Here we are addressing the decoration outside of the target.
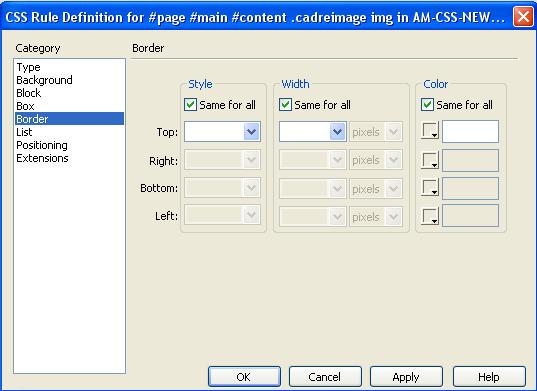
This is self explanatory.
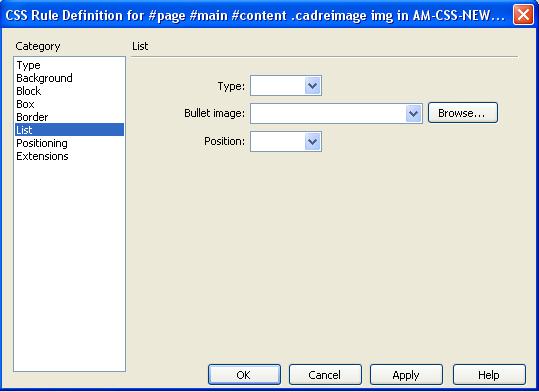
7. List
This has to do with the list types.
8. Position
This positions your element on your page, or in your DIV.
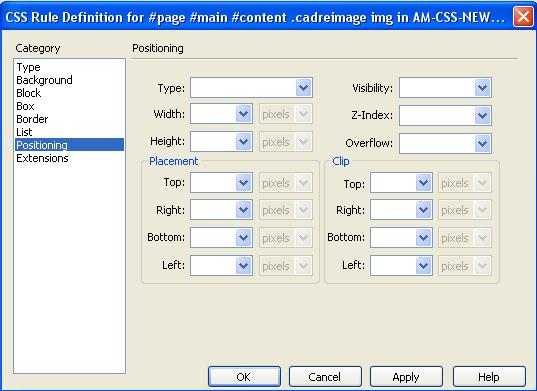
Explanation.
Type: Absolute, (changes your div into a template)
Type: Relative
Type: Fixed. This allows the coordinates of your block to remain visible relative to scrolling in your browser.
Type: Static
9. Extensions
End
It basically takes a bit of experimenting with the settings to learn their behaviour quickly.
Important note
Browsers behave differently, so you check out your page in each browser.