THE CSS IN GENERAL
CSS (Cascading Style Sheets) is a language that permits you to change the characteristics of your page.
It is in fact thanks to CSS that you can personalise your page. There is no need to use tables for this anymore.
Chapter Navigation:
The new display can be attached directly to your page, or through a link to a folder that has a .css extension
As a reminder, all commands associated with tags, styles, classes or pseudo classes are enclosed inside brackets, and each individual code finishes with a semi-colon.
For instance: h1 {code1; code2; ...;} or
In order to makes things as simple as possible, there is a minimum you have to know.
Save US$100 when you upgrade to Production Premium today.
How to make a box
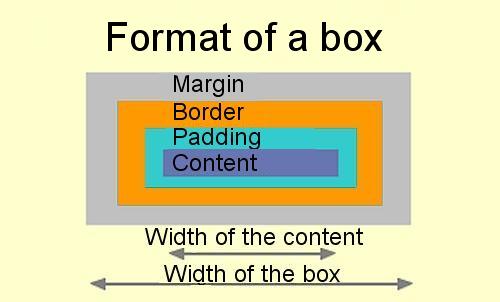
Before we start, we have to know what we mean by a box.
Structure of a line
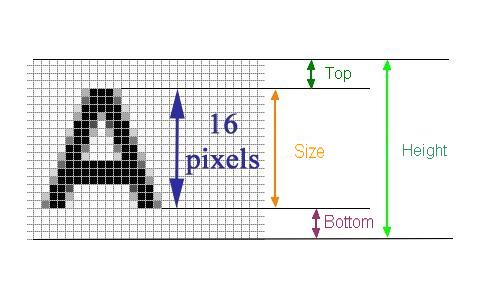
One more thing. We have to know the structure of a line, actually the units of length.
Fixed sizes
The pixel (Px) is a size that is predetermined.
The problem with using pixels is that the size of the character will never vary. It is fixed.
Variable sizes
These are much more interesting. Indeed, this allows the size of your text to vary with the size of your browser.
- Ems (EM is in HTML):
This will determine the relative size of your text compared to the one of your browser.
1em: nothing changes
1.3em: the size increases
0.8em: the size decreases
- Percentage (%)
Also gives your text a relative size to the norm of your browser.
100%: nothing changes
120%: the size increases
80%: the size decreases
- Name of the size:
xx-small,..., xx-large
How to position a box
To make this as simple as possible, we will say that a box has 3 different positions.
We will say that the box floats.
- To the left.
Your box will be situated to the left of the main box
- To the right
Your box will be situated to the right of the main box
- None
Your box will be situated wherever there is room
Display of the CSS window
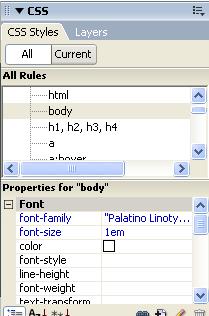
The CSS menu is on the right side. Under the CSS tab, you will find the CSS Styles tab, in which there are 2 areas, or Zones.
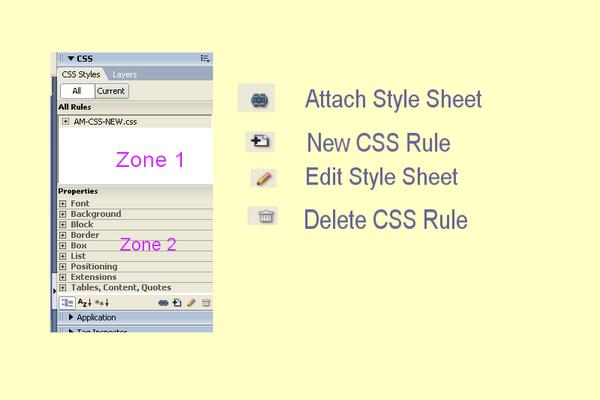
All the rules (Zone 1)
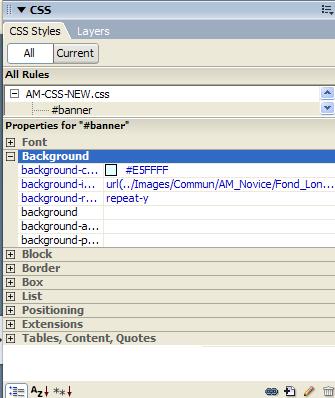
All t he rules fall under 3 categories.
- Tags (h1, h2, ..., p,...ul, ...a, ...)
- Classes or styles ( .tables, .images,...)
- The Id's or pseudo-classes (#menu, #menu p, a:hover,...)
Properties (Zone 2)
Posts the result of your selection by theme, by alphabetical order, or by usage order.
The easiest is to select the icons when you select or create a style.
Creating a CSS folder
![]() anywhere in the white area of zone 1 of CSS styles and select new
anywhere in the white area of zone 1 of CSS styles and select new

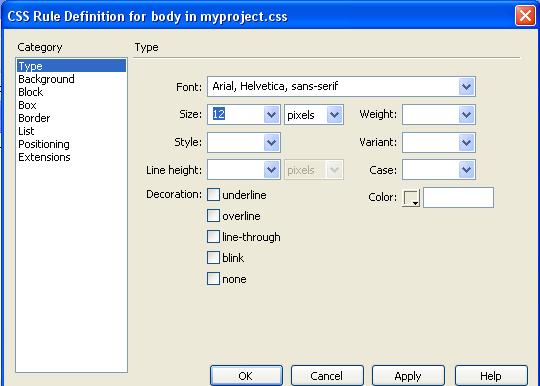
Select Tag, and chose the name body.
Inside CSS File (Valid only for the active page)
Make sure that in the "Define in" you chose This document only
Outside CSS File (Valid for all your pages)
This time make sure that the content is in New Style Sheet File
Then confirm your selection by selecting OK
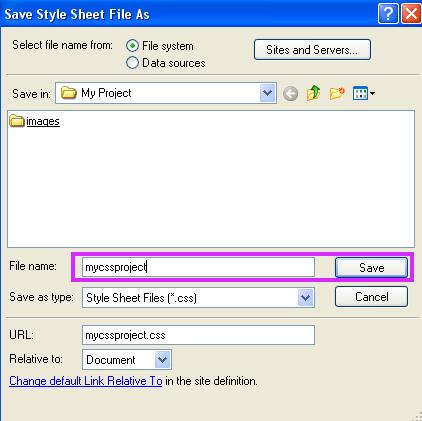
Give your style sheet file a name, and make sure that this is relative to the Document then Save .
DON'T FORGET the .css AT THE END OF THE NAME
Saved CSS File
There you go, we created a style file that you can see in the All Rules section of the CSS tab. In our example, we are in the
tag adjustments. You can change the background of your page. (See the next chapter - Background).
CSS Code
Dreamweaver 8 already has most of the codes that are compatible with the various browsers, which you will find in the CSS properties Zone 2 . For those who are familiar with the CSS codes, you may also find this chapter interesting. The offered choices allow you to bypass the CSS editor.
Since it's not easy to memorise all the various codes, Dreamweaver 8 has integrated the editor of CSS Rules, which makes it easy to find the code in English.
This is why we will not go into detail in this chapter. With practice and curiosity, you will find the translation of the code that you have saved with the editor.
1. Font
Your choice page
And the corresponding information in the CSS editor tab
2. Background
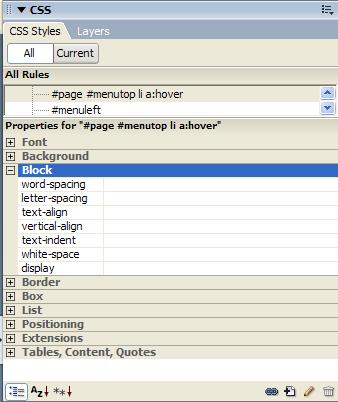
3. Block
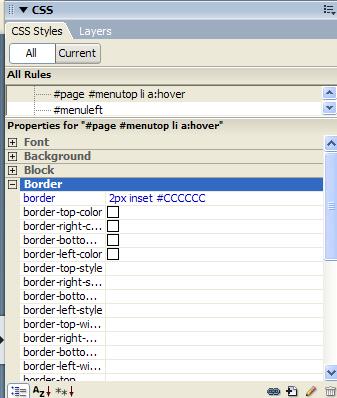
4. Border
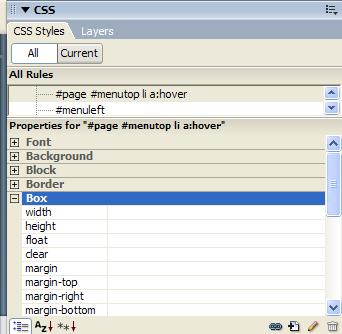
5. Box
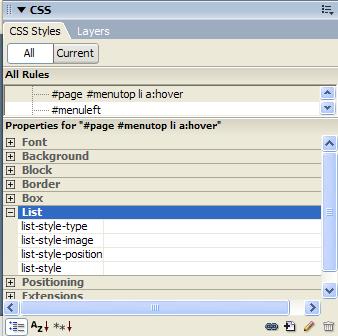
6. List
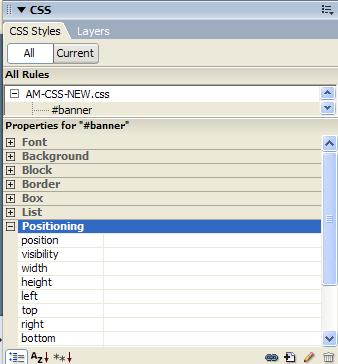
7. Positioning
8. Extensions
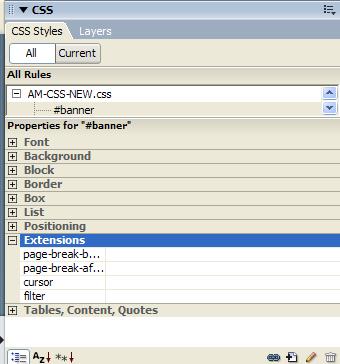
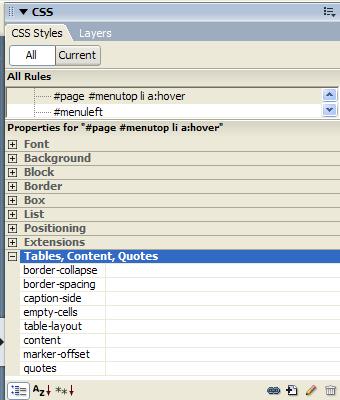
9. Tables, Content, Quotes